
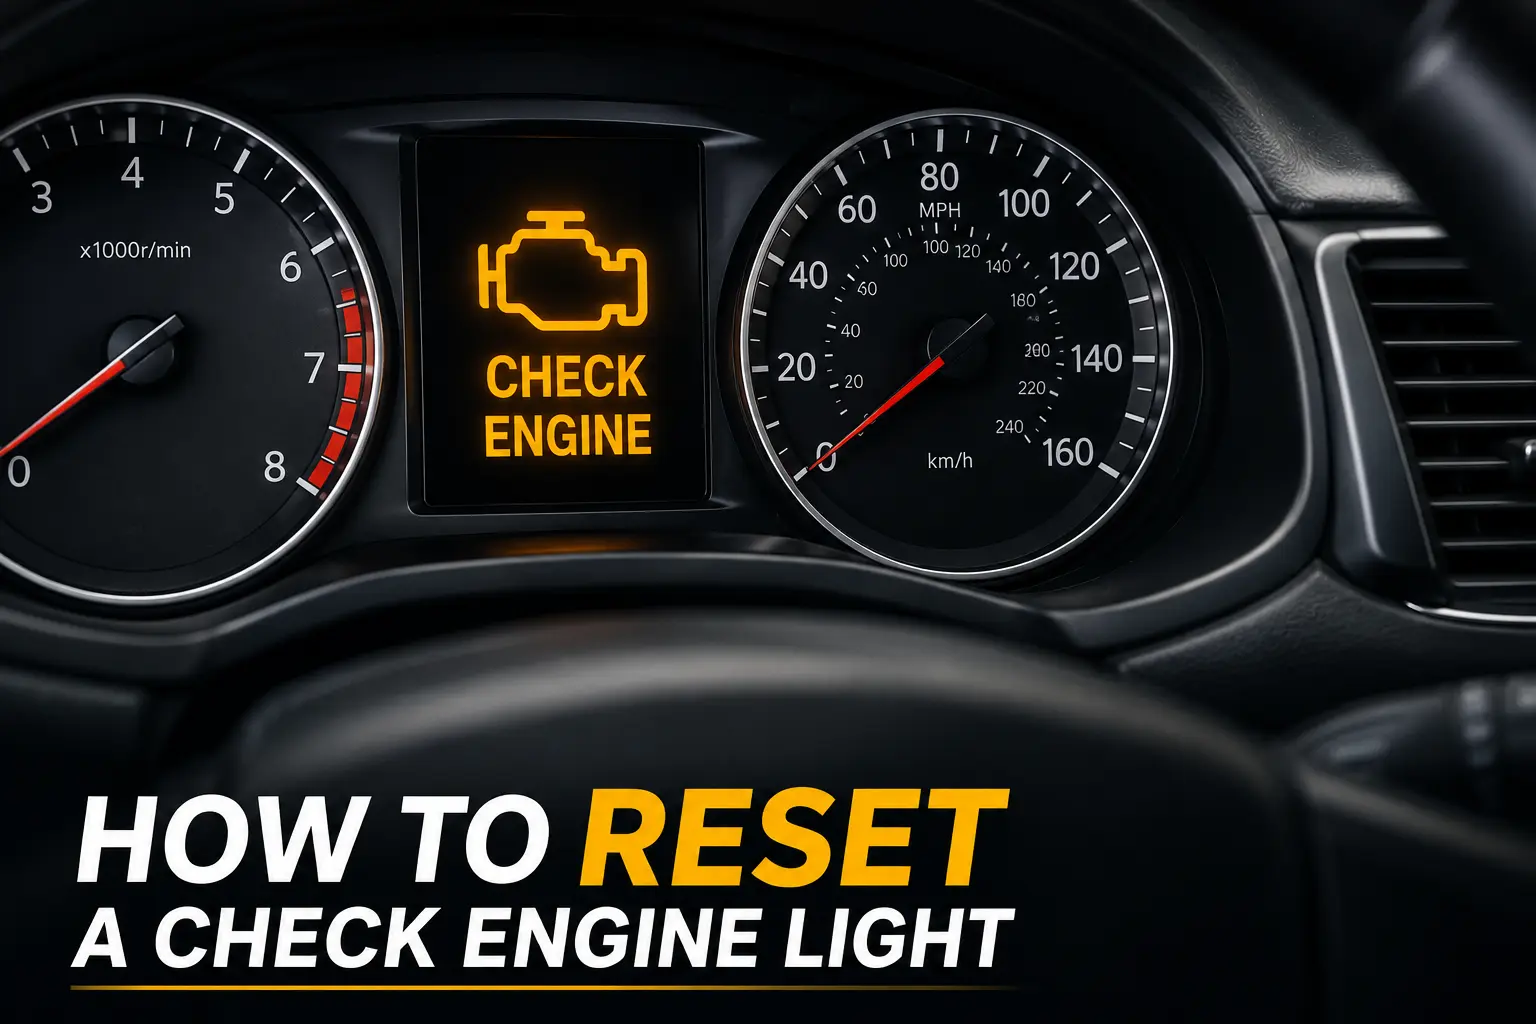
A Check Engine Light can be frustrating, especially if your vehicle seems to be running normally. Many drivers immediately search for how to reset a check engine light, hoping to turn the warning off. However, before clearing the warning, it’s important to understand what the check engine light means, since the light is only a symptom of an underlying engine or emissions-related problem.
The Engine Control Unit (ECU) or Powertrain Control Module (PCM) illuminates the Malfunction Indicator Lamp (MIL) whenever it detects a fault that could affect engine performance, fuel economy, or emissions. Even if you clear the warning, the Check Engine Light will usually return if the original issue hasn’t been repaired.
In this guide, you’ll learn the safest ways to reset the light, when it’s appropriate to do so, how professionals diagnose the problem, and why fixing the root cause should always come before clearing the warning.
Quick Answer
In most vehicles, you can reset the check engine light using an OBD-II scanner after repairing the fault that triggered the warning. Some vehicles may also turn the light off automatically after completing several drive cycles, while disconnecting the battery can clear stored codes on certain models. However, if the underlying problem remains, the ECU will detect it again, and the warning light will return.
Key Takeaways
- Repair the problem before resetting the light.
- An OBD-II scanner is the safest and most accurate reset method.
- Clearing Diagnostic Trouble Codes (DTCs) does not repair the vehicle.
- The warning light can return if the fault isn’t fixed.
- Resetting the light also resets Readiness Monitors, which may affect emissions testing.
Can You Reset a Check Engine Light Yourself?
Yes, you can reset a Check Engine Light yourself, but only after identifying and repairing the cause of the warning.
For example, if a loose gas cap, worn spark plugs, or a faulty ignition coil triggered the light and the problem has been repaired, it’s generally safe to clear the stored Diagnostic Trouble Codes (DTCs) using an OBD-II scanner.
However, resetting the light without diagnosing the issue is not recommended. This is especially true if you have a flashing check engine light, which often indicates a severe engine misfire that requires immediate diagnosis instead of simply clearing the warning.
The warning is designed to alert you that the ECU has detected a fault. Removing the warning without fixing the problem only hides it temporarily, and the light will usually come back once the system performs another self-test.
If your vehicle has a flashing Check Engine Light, avoid resetting it until the problem has been diagnosed. A flashing warning often indicates an active engine misfire that can damage the Catalytic Converter if ignored.
How We Diagnose and Fix the Problem Before Resetting the Check Engine Light
Professional technicians don’t simply erase the warning light. They first identify the cause, complete the repair, and then verify that the problem has been resolved.
Step 1: Scan for Diagnostic Trouble Codes (DTCs)
The first step is connecting an OBD-II scanner or code reader to the vehicle’s diagnostic port.
The scanner communicates with the Engine Control Unit (ECU) and retrieves stored Diagnostic Trouble Codes (DTCs), which indicate which system or component caused the warning.
Many professional scan tools also display Freeze Frame Data and Live Data, helping technicians see the conditions that existed when the fault was detected.
This information prevents unnecessary parts replacement and speeds up the diagnosis.
Step 2: Identify the Root Cause
A fault code points technicians in the right direction, but it doesn’t automatically identify the failed part.
Instead, the affected system is inspected to confirm the actual cause. Depending on the stored code, this may include checking the:
- Spark Plugs
- Ignition Coil
- Oxygen Sensor
- Fuel Injector
- Mass Air Flow (MAF) Sensor
- EVAP System
- Gas Cap
- Wiring and electrical connectors
This process ensures the repair addresses the real problem instead of simply replacing parts based on a fault code.
Step 3: Repair the Fault
Once the faulty component has been confirmed, it’s repaired or replaced.
For example, a damaged Oxygen Sensor may need replacement, while a loose gas cap simply needs to be tightened or replaced. If the issue is an engine misfire, replacing worn spark plugs or a faulty ignition coil may solve the problem.
Repairing the root cause before clearing the warning prevents the Check Engine Light from returning.
Step 4: Verify the Repair
After the repair is complete, the technician clears the stored Diagnostic Trouble Codes (DTCs) using an OBD-II scanner.
The vehicle is then road-tested so the ECU can perform its self-checks and complete the required drive cycle. If no new fault codes appear and the Readiness Monitors complete successfully, the repair has been confirmed, and the warning light remains off.
5 Safe Ways to Reset a Check Engine Light
Not every reset method is equally effective. Some simply clear stored codes, while others allow the ECU to switch the warning off naturally after confirming the repair.
The safest and most reliable methods are explained below.
Method 1: Use an OBD-II Scanner (Recommended)
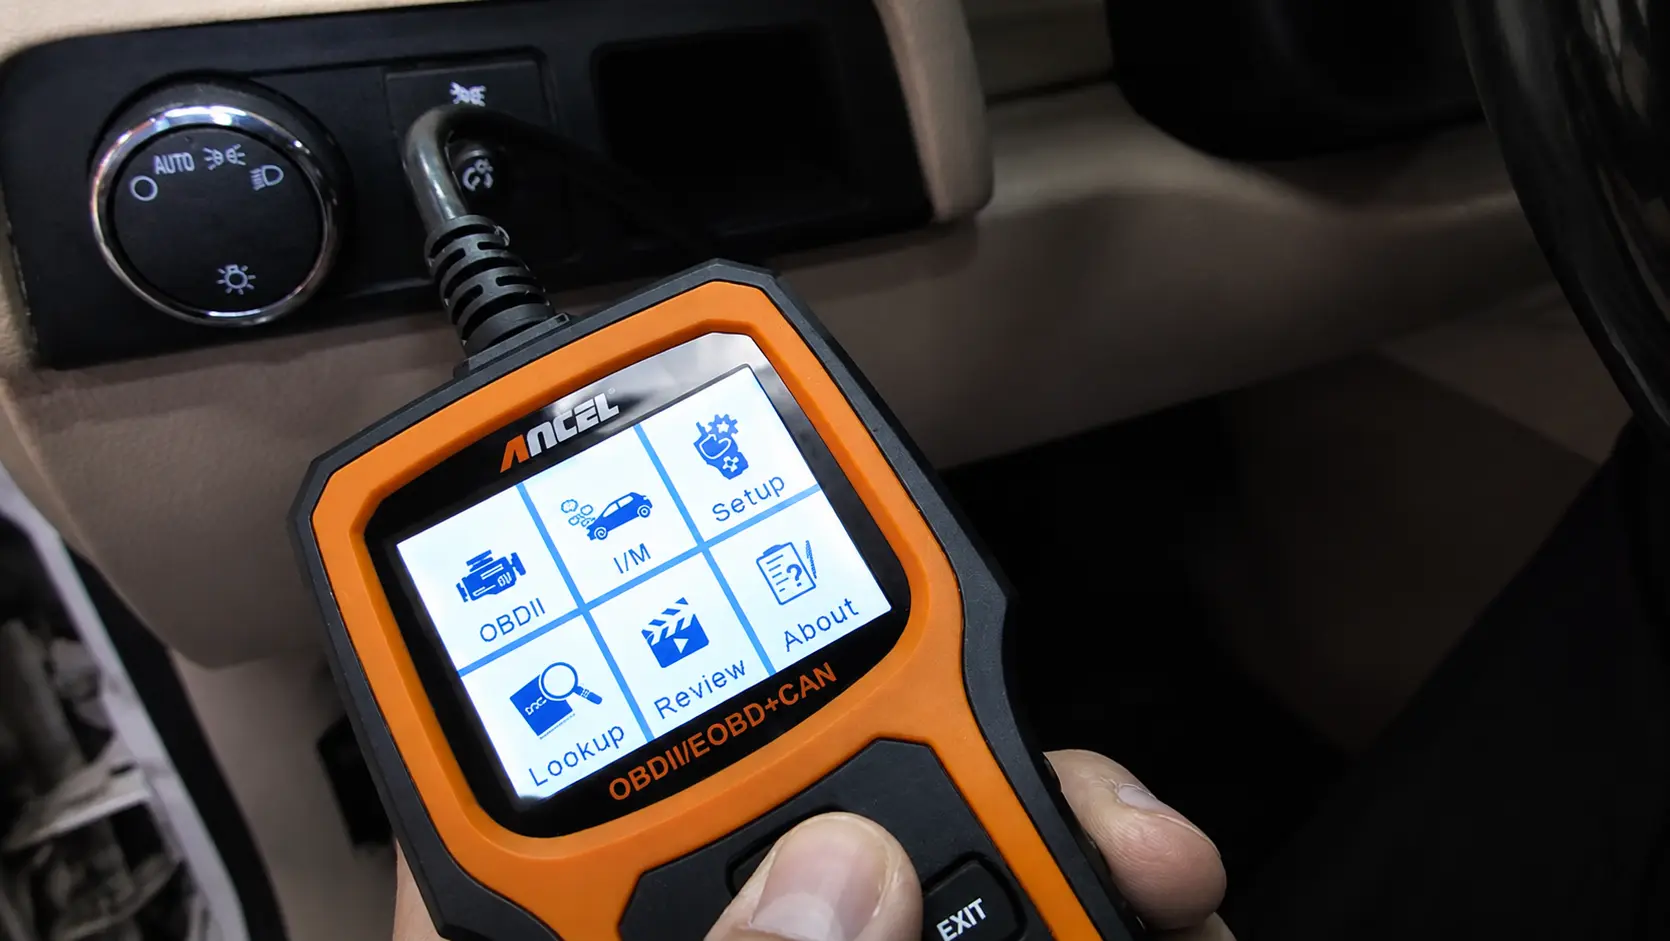
Using an OBD-II scanner is the preferred way to reset a Check Engine Light because it allows you to diagnose the problem and clear the stored Diagnostic Trouble Codes (DTCs) safely.
To reset the light:
- Connect the OBD-II scanner to the diagnostic port.
- Turn the ignition to the ON position.
- Read the stored fault codes.
- Repair the underlying problem.
- Select Clear Codes or Erase Codes on the scanner.
- Restart the engine and confirm the warning light stays off.
Unlike other reset methods, an OBD-II scanner allows you to verify the repair before clearing the warning, making it the most reliable option.
Method 2: Let the Vehicle Complete a Drive Cycle
In some cases, the Check Engine Light will turn off automatically after the faulty component has been repaired. As you drive, the Engine Control Unit (ECU) performs a series of self-tests known as a drive cycle. If all Readiness Monitors pass and no new Diagnostic Trouble Codes (DTCs) are detected, the warning light may switch off without manually clearing the codes.
The exact number of trips varies by vehicle, but it can take anywhere from one drive cycle to several days of normal driving.
This method only works if the original problem has been fixed.
Method 3: Disconnect the Battery
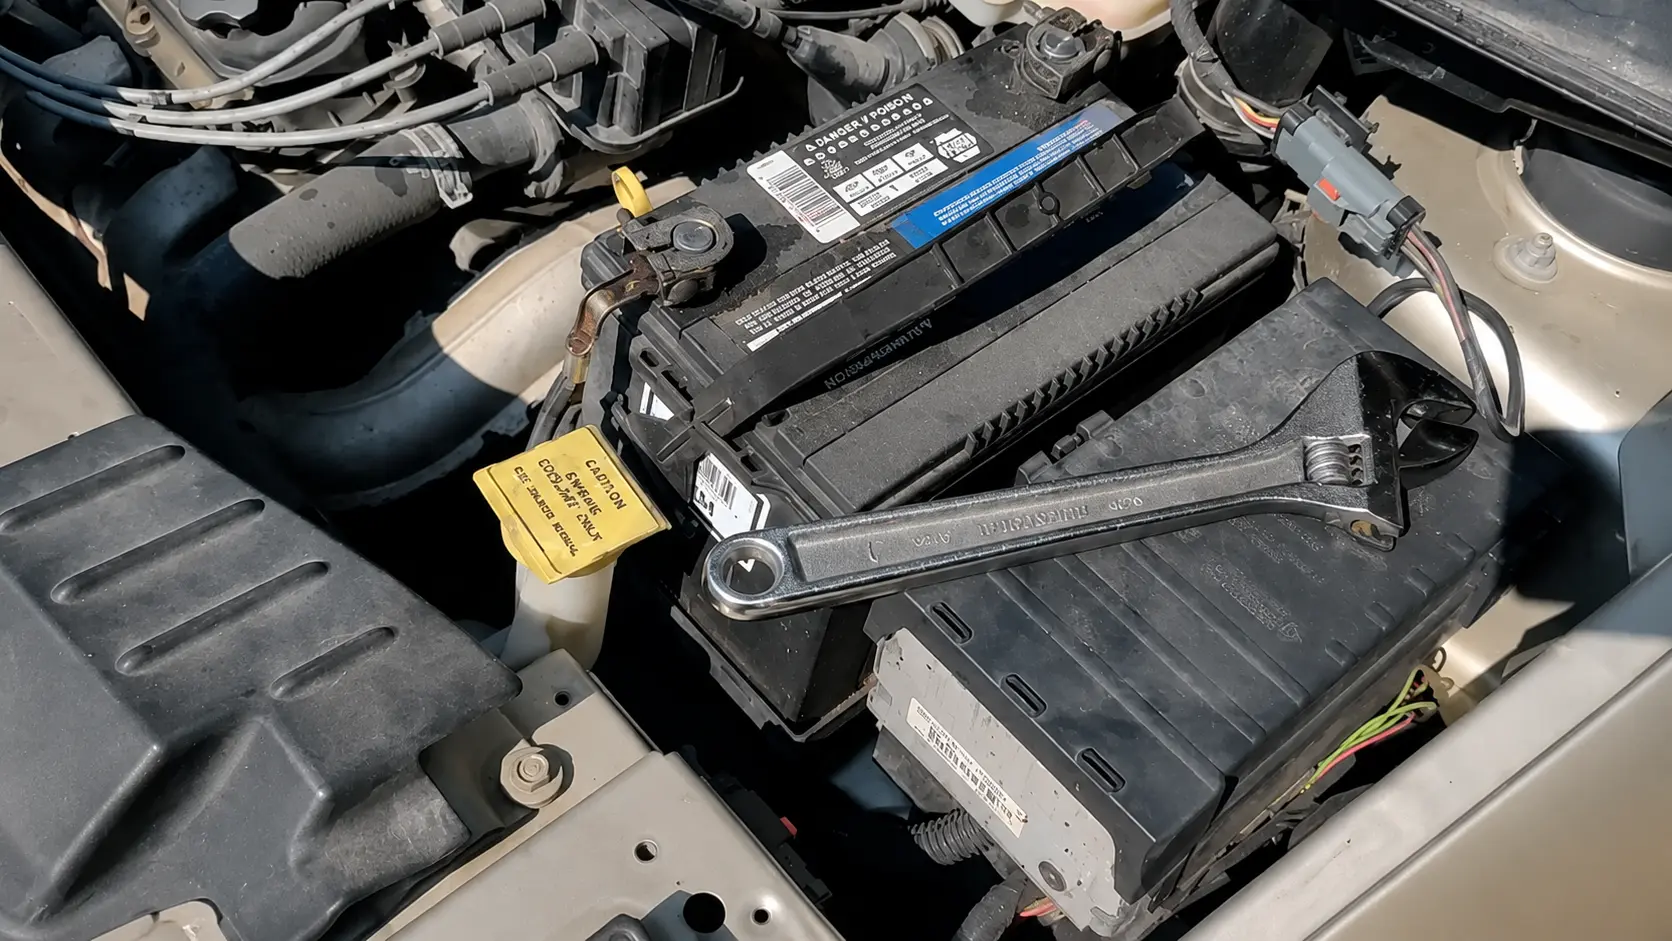
Disconnecting the battery is another method that may reset the check engine light on some vehicles, particularly older models.
To do this:
- Turn the ignition off.
- Disconnect the negative battery terminal.
- Wait 10–15 minutes.
- Reconnect the battery.
- Start the engine and check whether the warning light has cleared.
Keep in mind that disconnecting the battery may erase radio presets, clock settings, and other stored vehicle data. More importantly, it does not repair the underlying fault. If the problem still exists, the ECU will detect it again, and the light will return.
Method 4: Tighten or Replace the Gas Cap
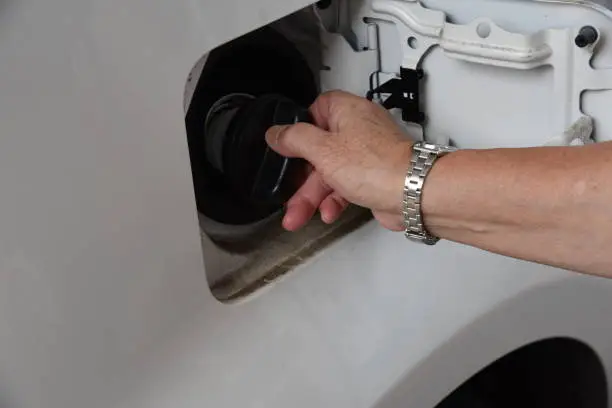
A loose or damaged gas cap is one of the most common causes of an EVAP System fault.
If the cap isn’t sealed properly, the ECU may detect an evaporative emissions leak and illuminate the Check Engine Light.
After tightening or replacing the gas cap:
- Drive the vehicle normally.
- Allow the EVAP System to complete its self-test.
- The warning light may turn off automatically after one or more drive cycles if no leak is detected.
This method only works when the warning was caused by the fuel cap or a minor EVAP System leak.
Method 5: Visit a Qualified Mechanic
If you don’t have an OBD-II scanner, the warning light keeps returning, or multiple Diagnostic Trouble Codes (DTCs) are stored, it’s best to have the vehicle inspected by a qualified technician.
A professional can review Freeze Frame Data, monitor Live Data, inspect the affected system, and confirm the repair before clearing the warning. This approach reduces unnecessary parts replacement and ensures the actual fault has been corrected.
What Happens After You Reset the Check Engine Light?
Resetting the Check Engine Light does more than remove the warning from the dashboard.
When the stored Diagnostic Trouble Codes (DTCs) are cleared, the ECU also resets several important diagnostic functions, including:
- Readiness Monitors
- Stored fault codes
- Some Freeze Frame Data
- Adaptive system learning on certain vehicles
Because the Readiness Monitors return to an incomplete status, your vehicle may not pass an emissions inspection until it completes the required drive cycle.
If the original fault hasn’t been repaired, the ECU will detect it again during its self-tests, and the warning light will come back.
Why Does the Check Engine Light Come Back?
Many drivers successfully reset the check engine light, only to see it return a short time later.
This usually happens because:
- The underlying fault wasn’t repaired.
- The repair didn’t completely solve the problem.
- An intermittent fault occurred again.
- A new Diagnostic Trouble Code (DTC) was detected during the next drive cycle.
Instead of repeatedly clearing the warning, diagnose the cause and complete the necessary repair.
OBD-II Scanner vs. Battery Disconnect
| Method | Recommended | Clears Codes | Best For |
| OBD-II Scanner | Yes | Yes | Most vehicles |
| Drive Cycle | Sometimes | Sometimes | Repaired minor faults |
| Battery Disconnect | Sometimes | Yes | Older vehicles |
| Tighten Gas Cap | If EVAP System fault | Sometimes | Loose fuel cap |
Conclusion
Knowing how to reset a check engine light can be useful, but resetting the warning should always be the final step, not the first.
A proper diagnosis using an OBD-II scanner, followed by repairing the faulty component, is the most reliable way to keep the light from returning.
If the warning comes back after being cleared, don’t ignore it. Many dashboard warning lights require different diagnostic procedures, so identifying the correct warning helps prevent unnecessary repairs and keeps your vehicle safe to drive.
Have the vehicle inspected by a qualified technician to identify and fix the underlying problem before it leads to more expensive repairs.
Frequently Asked Questions
How do I reset a check engine light?
The safest way is to repair the underlying fault first, then use an OBD-II scanner to clear the stored Diagnostic Trouble Codes (DTCs). If the problem has been fixed, the warning light should remain off.
Can I reset a check engine light without a scanner?
Yes. Some vehicles automatically clear the warning after completing several drive cycles, while others may reset after disconnecting the battery. However, these methods won’t solve the underlying problem.
Can I reset a check engine light without disconnecting the battery?
Yes. An OBD-II scanner is the preferred method because it safely clears the codes without affecting other vehicle settings. In some cases, the light may also turn off automatically after the repair is verified by the ECU.
Will the check engine light reset itself?
Yes, if the original fault has been repaired. Once the ECU completes its self-tests and all Readiness Monitors pass, the warning light may switch off automatically after one or more drive cycles.
How long does it take for a check engine light to reset?
It depends on the vehicle and the fault. Some lights reset after a single drive cycle, while others require several trips before the ECU confirms the repair.
How many miles does it take for a check engine light to reset?
There isn’t a fixed mileage. Most vehicles require enough normal driving to complete the necessary drive cycle, which can range from a few miles to over 100 miles depending on the manufacturer.
Does disconnecting the battery reset the check engine light?
It can on some vehicles, but it’s not the recommended method. While disconnecting the battery may clear stored codes, it doesn’t repair the fault, and the warning light may return if the issue remains.
Why does the check engine light come back after resetting?
The most common reason is that the underlying problem wasn’t repaired. Once the ECU detects the fault again during a drive cycle, it stores a new Diagnostic Trouble Code (DTC) and turns the warning light back on.
Can I drive after resetting the check engine light?
If the underlying problem has been repaired and the vehicle is operating normally, you can usually drive while the ECU completes its self-tests. However, if the light returns or the engine runs poorly, have the vehicle diagnosed as soon as possible.
Is it safe to reset the check engine light without fixing the problem?
No. Resetting the warning without repairing the fault only hides the symptom temporarily. The safest approach is to diagnose the cause, complete the repair, and then clear the stored Diagnostic Trouble Codes (DTCs) using an OBD-II scanner.